The Essential Home Hardening Checklist: 25 Ways to Protect Your Home
From ember-resistant vents to fire-rated roofing, discover the most effective home hardening improvements.
What is Home Hardening?
Home hardening refers to the construction materials and installation techniques that can increase resistance to heat, flames, and embers generated by wildfire. Research shows that most homes ignited during wildfires are set on fire by wind-blown embers, not direct flame contact.
This checklist covers the most impactful improvements you can make, organized by priority and location.
Roof: Your First Line of Defense
The roof is the most vulnerable part of your home during a wildfire. Embers can travel miles ahead of the fire front and land on your roof.
Priority Improvements:
Vents: Closing the Gaps
Vents are a primary entry point for embers. Standard vents allow embers to enter attics, crawl spaces, and eaves.
Priority Improvements:
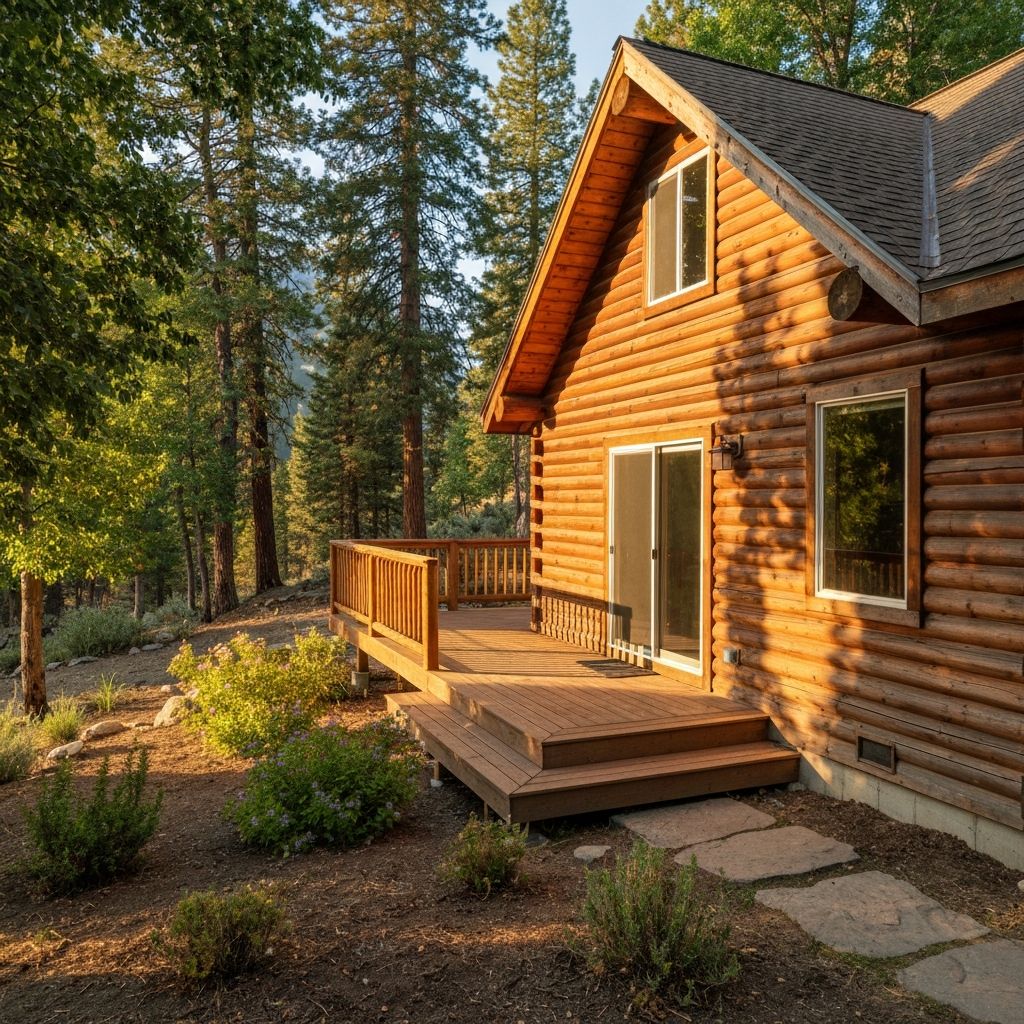
Exterior Walls
While most siding materials provide adequate fire resistance, connections and gaps can be vulnerable.
Priority Improvements:
Windows
Windows can break from radiant heat, allowing embers inside. Multi-pane windows provide better protection.
Priority Improvements:
Decks and Attachments
Attached decks, fences, and pergolas can carry fire directly to your home.
Priority Improvements:
Garage and Outbuildings
Garages often contain flammable materials and connect directly to living spaces.
Priority Improvements:
Final Steps
Investment and Impact
Home hardening improvements range from DIY projects to professional installations:
Get Professional Help
Not sure where to start? EmberLine can assess your home and create a prioritized improvement plan that fits your budget and timeline.
Share this article